Mike Immersed
Rift in Unity Part 1: Enable VR Support
August 28, 2018
As I’m developing a VR game in Unity for the Progressive Game Jam at Square One Clubs, I want to share some of the things I’m learning along the way. For now, I’ll be focusing on Oculus Rift support. But I plan to add support and info for other headsets later.
If you want to follow along, you’ll need Oculus Rift + Touch and a computer that meets the Rift system requirements.
Let’s get started
Install or update to the latest version of Unity. I’m using Unity 2018.2.5f1.
Run Unity and at the start up screen click New to create a new project. Give it a name such as “Welcome to VR”, select the 3D template, select a location, and click Create project. It may take a few minutes for Unity to set up your new project.

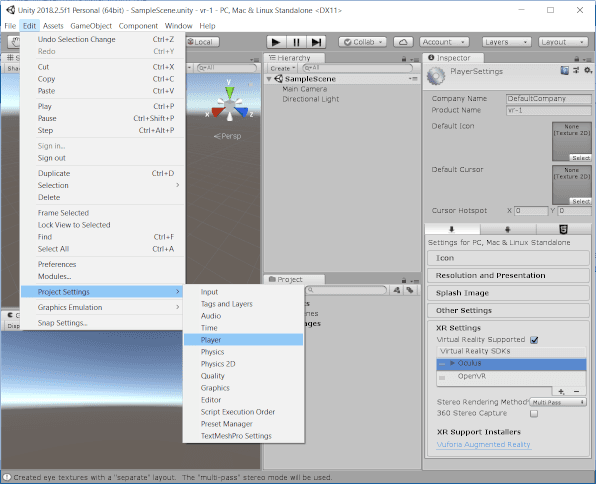
Enable VR support
- Open the Edit menu > Project Settings > Player
- Under the Inspector > expand XR Settings > check Virtual Reality Supported
- make sure Oculus is included under Virtual Reality SDKs
- if not, click the + and add Oculus
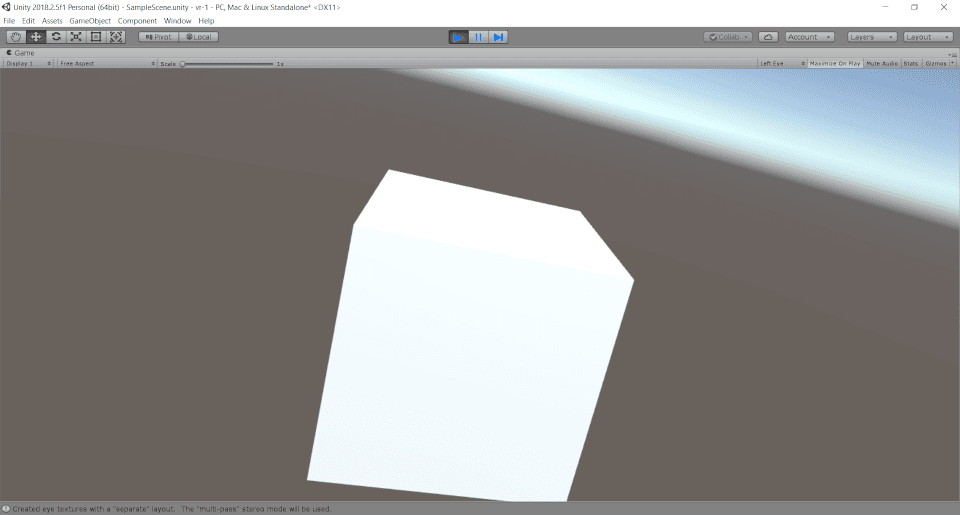
Try it out
We don’t have anything to look at, so first let’s add a cube to the scene
- from Hierarchy, click Create > 3D Object > Cube
Position the cube in front of the Main Camera
- I set the cube’s Position to 0,0,-7 via the Inspector
Now, make sure your Rift and sensors are connected and set up and open the Oculus application.
Go back to Unity, click the Play button (▶), put on your Rift and look around!
Final thoughts
Congratulations, you just made a simple VR scene in Unity!
Stay tuned, next time we will add basic support to move around the scene
References

Written by Mike Henry, VR enthusiast and software developer. Follow Mike on Twitter